Add Login to Your Java Servlet Application
Auth0 allows you to quickly add authentication and gain access to user profile information in your application. This guide demonstrates how to integrate Auth0 with any new or existing Java Servlet application.
To use Auth0 services, you’ll need to have an application set up in the Auth0 Dashboard. The Auth0 application is where you will configure how you want authentication to work for the project you are developing.
Configure an application
Use the interactive selector to create a new Auth0 application or select an existing application that represents the project you want to integrate with. Every application in Auth0 is assigned an alphanumeric, unique client ID that your application code will use to call Auth0 APIs through the SDK.
Any settings you configure using this quickstart will automatically update for your Application in the Dashboard, which is where you can manage your Applications in the future.
If you would rather explore a complete configuration, you can view a sample application instead.
Configure Callback URLs
A callback URL is a URL in your application that you would like Auth0 to redirect users to after they have authenticated. If not set, users will not be returned to your application after they log in.
Configure Logout URLs
A logout URL is a URL in your application that you would like Auth0 to redirect users to after they have logged out. If not set, users will not be able to log out from your application and will receive an error.
Setup dependencies
To integrate your Java application with Auth0, add the following dependencies:
javax.servlet-api
: is the library that allows you to create Java Servlets. You then need to add a Server dependency like Tomcat or Gretty, which one is up to you. Check our sample code for more information.
auth0-java-mvc-commons: is the Java library that allows you to use Auth0 with Java for server-side MVC web apps. It generates the Authorize URL that you need to call in order to authenticate and validates the result received on the way back to finally obtain the Auth0 Tokens that identify the user.
If you are using Gradle, add them to your build.gradle:
// build.gradle
compile 'javax.servlet:javax.servlet-api:3.1.0'
compile 'com.auth0:mvc-auth-commons:1.+'W
Was this helpful?
If you are using Maven, add them to your pom.xml:
<!-- pom.xml -->
<dependency>
<groupId>com.auth0</groupId>
<artifactId>mvc-auth-commons</artifactId>
<version>[1.0, 2.0)</version>
</dependency>
<dependency>
<groupId>javax.servlet</groupId>
<artifactId>javax.servlet-api</artifactId>
<version>3.1.0</version>
</dependency>
Was this helpful?
Your Java App needs some information in order to authenticate against your Auth0 account. The samples read this information from the deployment descriptor file src/main/webapp/WEB-INF/web.xml, but you could store them anywhere else.
This information will be used to configure the auth0-java-mvc-commons library to enable users to login to your application. To learn more about the library, including its various configuration options, see the library's documentation.
Check populated attributes
If you downloaded this sample using the Download Sample button, the domain, clientId and clientSecret attributes will be populated for you. You should verify that the values are correct, especially if you have multiple Auth0 applications in your account.
Project structure
The example project, which can be downloaded using the Download Sample button, has the following structure:
- src
-- main
---- java
------ com
-------- auth0
---------- example
------------ Auth0Filter.java
------------ AuthenticationControllerProvider.java
------------ HomeServlet.java
------------ CallbackServlet.java
------------ LoginServlet.java
------------ LogoutServlet.java
---- webapp
------ WEB-INF
-------- jsp
---------- home.jsp
-------- web.xml

build.gradle
Was this helpful?
The project contains a single JSP: the home.jsp which will display the tokens associated with the user after a successful login and provide the option to logout.
The project contains a WebFilter: the Auth0Filter.java which will check for existing tokens before giving the user access to our protected /portal/* path. If the tokens don't exist, the request will be redirected to the LoginServlet.
The project contains also four servlets:
LoginServlet.java: Invoked when the user attempts to log in. The servlet uses theclient_idanddomainparameters to create a valid Authorize URL and redirects the user there.CallbackServlet.java: The servlet captures requests to our Callback URL and processes the data to obtain the credentials. After a successful login, the credentials are then saved to the request's HttpSession.HomeServlet.java: The servlet reads the previously saved tokens and shows them on thehome.jspresource.LogoutServlet.java: Invoked when the user clicks the logout link. The servlet invalidates the user session and redirects the user to the login page, handled by theLoginServlet.AuthenticationControllerProvider.java: Responsible to create and manage a single instance of theAuthenticationController
To enable users to authenticate, create an instance of the AuthenticationController provided by the auth0-java-mvc-commons SDK using the domain, clientId, and clientSecret. The sample shows how to configure the component for use with tokens signed using the RS256 asymmetric signing algorithm, by specifying a JwkProvider to fetch the public key used to verify the token's signature. See the jwks-rsa-java repository to learn about additional configuration options. If you are using HS256, there is no need to configure the JwkProvider.
To enable users to log in, your application will redirect them to the Universal Login page. Using the AuthenticationController instance, you can generate the redirect URL by calling the buildAuthorizeUrl(HttpServletRequest request, HttpServletResponse response, String redirectUrl) method. The redirect URL must be the URL that was added to the Allowed Callback URLs of your Auth0 application.
After the user logs in, the result will be received in our CallbackServlet via either a GET or POST HTTP request. Because we are using the Authorization Code Flow (the default), a GET request will be sent. If you have configured the library for the Implicit Flow, a POST request will be sent instead.
The request holds the call context that the library previously set by generating the Authorize URL with the AuthenticationController. When passed to the controller, you get back either a valid Tokens instance or an Exception indicating what went wrong. In the case of a successful call, you need to save the credentials somewhere to access them later. You can use the HttpSession of the request by using the SessionsUtils class included in the library.
Now that the user is authenticated (the tokens exists), the Auth0Filter will allow them to access our protected resources. In the HomeServlet we obtain the tokens from the request's session and set them as the userId attribute so they can be used from the JSP code.
To properly handle logout, we need to clear the session and log the user out of Auth0. This is handled in the LogoutServlet of our sample application.
First, we clear the session by calling request.getSession().invalidate(). We then construct the logout URL, being sure to include the returnTo query parameter, which is where the user will be redirected to after logging out. Finally, we redirect the response to our logout URL.
To run the sample from a terminal, change the directory to the root folder of the project and execute the following line:
./gradlew clean appWas this helpful?
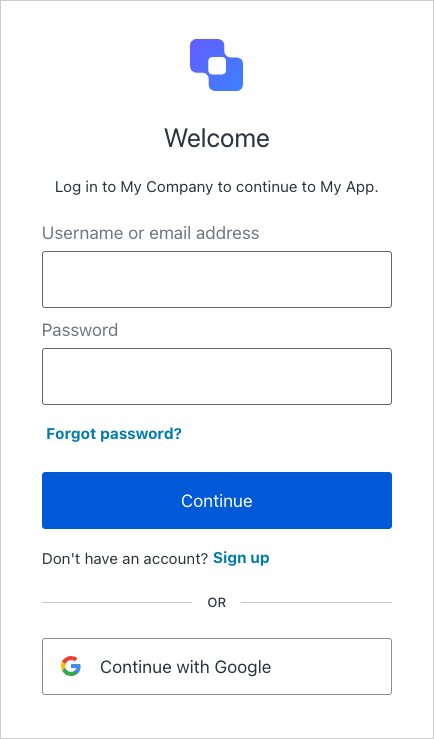
After a few seconds, the application will be accessible on http://localhost:3000/. Try to access the protected resource http://localhost:3000/portal/home and note how you're redirected by the Auth0Filter to the Auth0 Login Page. The widget displays all the social and database connections that you have defined for this application in the dashboard.

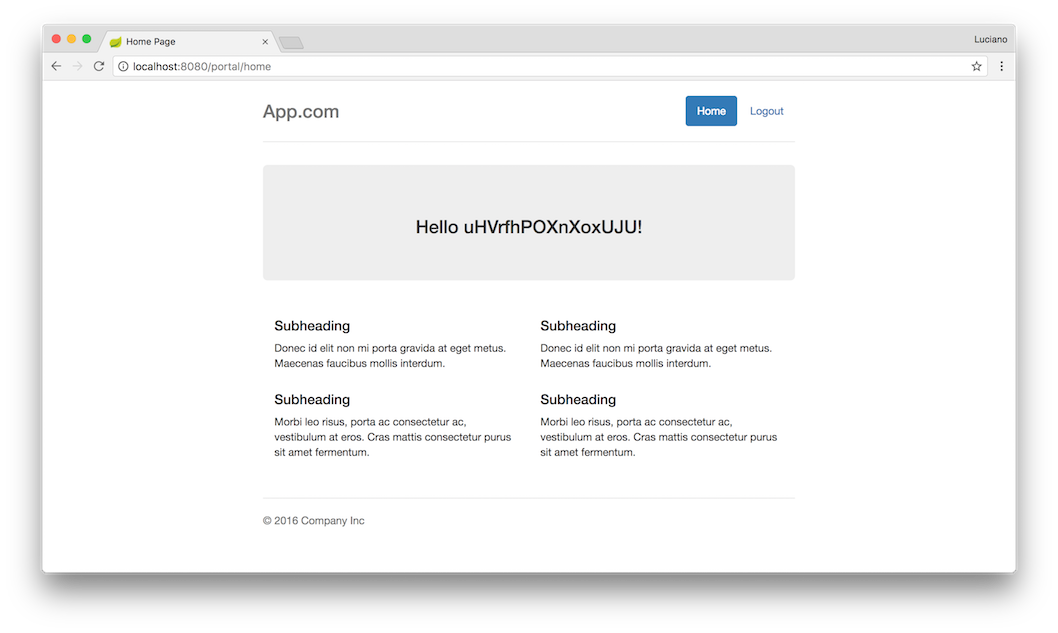
After a successful authentication, you'll be able to see the home page contents.

Log out by clicking the logout button at the top right of the home page.
Next Steps
Excellent work! If you made it this far, you should now have login, logout, and user profile information running in your application.
This concludes our quickstart tutorial, but there is so much more to explore. To learn more about what you can do with Auth0, check out:
- Auth0 Dashboard - Learn how to configure and manage your Auth0 tenant and applications
- auth0-java-mvc-common SDK - Explore the SDK used in this tutorial more fully
- Auth0 Marketplace - Discover integrations you can enable to extend Auth0’s functionality

Sign up for an or to your existing account to integrate directly with your own tenant.