Install Authorization Extension
Prerequisite
Before you begin, make sure that you have an existing application that can be used with the Authorization Extension. You can use the following types of applications:
Native apps
Regular web apps
Single-page apps
Applications without an assigned type or machine-to-machine apps cannot be used with this extension.
Install extension
Go to Auth0 Dashboard > Extensions.
Select Auth0 Authorization and answer the prompt to install.
Choose where you would like to store your data: Webtask Storage or Amazon S3 bucket.
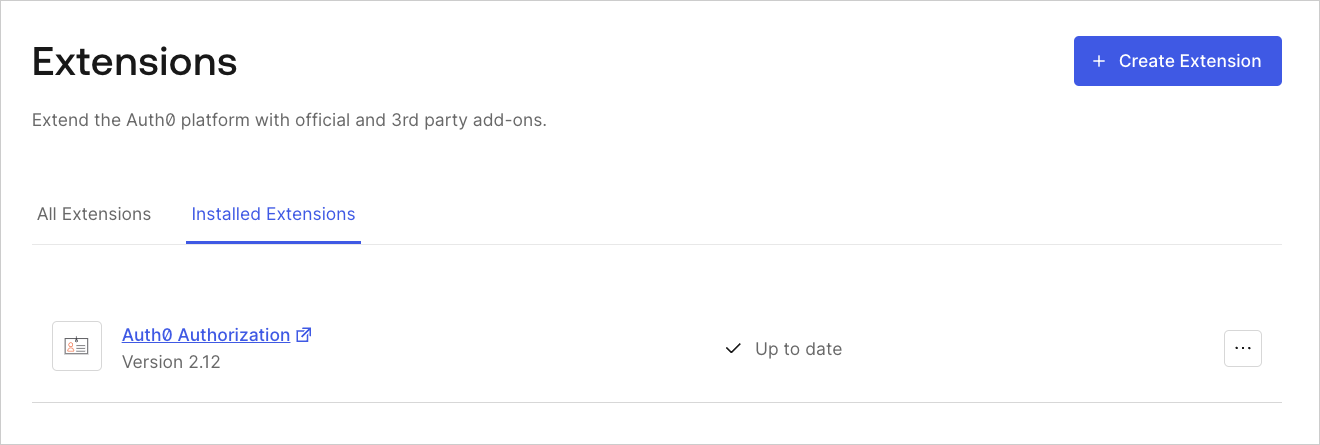
Once the extension is installed, you will see it listed under the Installed Extensions.

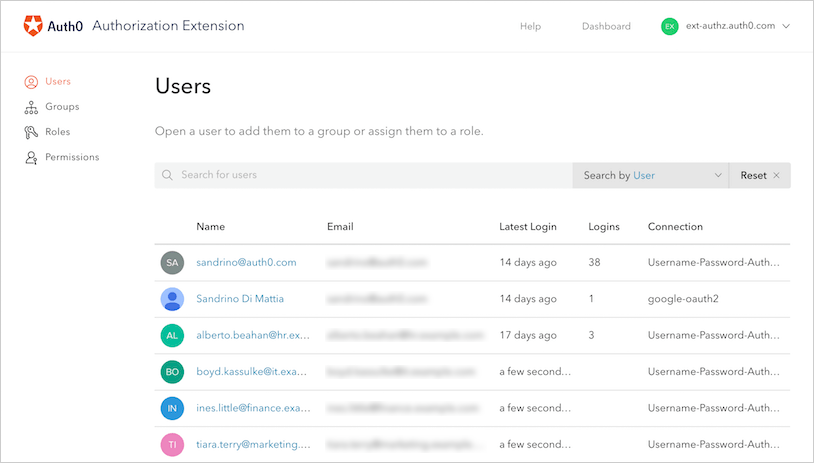
When you click the link to open the extension for the first time, you will be asked to provide permission for the extension to access your Auth0 account. If you do, you will be taken to the Authorization Dashboard.

Webtask storage
The extension will use Webtask Storage by default, and you are limited to 500 KB of data. This is equivalent to:
1000 groups and 3000 users, where each user is a member of 3 groups
20 groups and 7000 users, where each user is a member of 3 groups
Amazon S3
Alternatively, you can use Amazon S3 as a storage provider. Amazon S3 is a file-based storage platform, which means it writes in parallel. This may cause issues, but the extension's storage logic attempts to take this into account. However, if you automate the creation of groups, roles, or permissions, Auth0 recommends that you use sequential calls to the API.
To use Amazon S3, you need to:
Create an S3 bucket.
Create an IAM user and get the Key ID for that user.
Create a policy for the IAM user that allows the user to make changes to the bucket.
{
    "Version": "2012-10-17",
    "Statement": [
        {
            "Effect": "Allow",
            "Action": [
                "s3:DeleteObject",
                "s3:GetObject",
                "s3:ListBucket",
                "s3:PutObject"
            ],
            "Resource": [
                "arn:aws:s3:::{nameOfYourBucket}/*"
            ]
        },
        {
            "Effect": "Allow",
            "Action": [
                "s3:ListBucket"
            ],
            "Resource": [
                "arn:aws:s3:::{nameOfYourBucket}"
            ],
            "Condition": {}
        }
    ]
}
Was this helpful?